What’s New: Birthday Party Kits

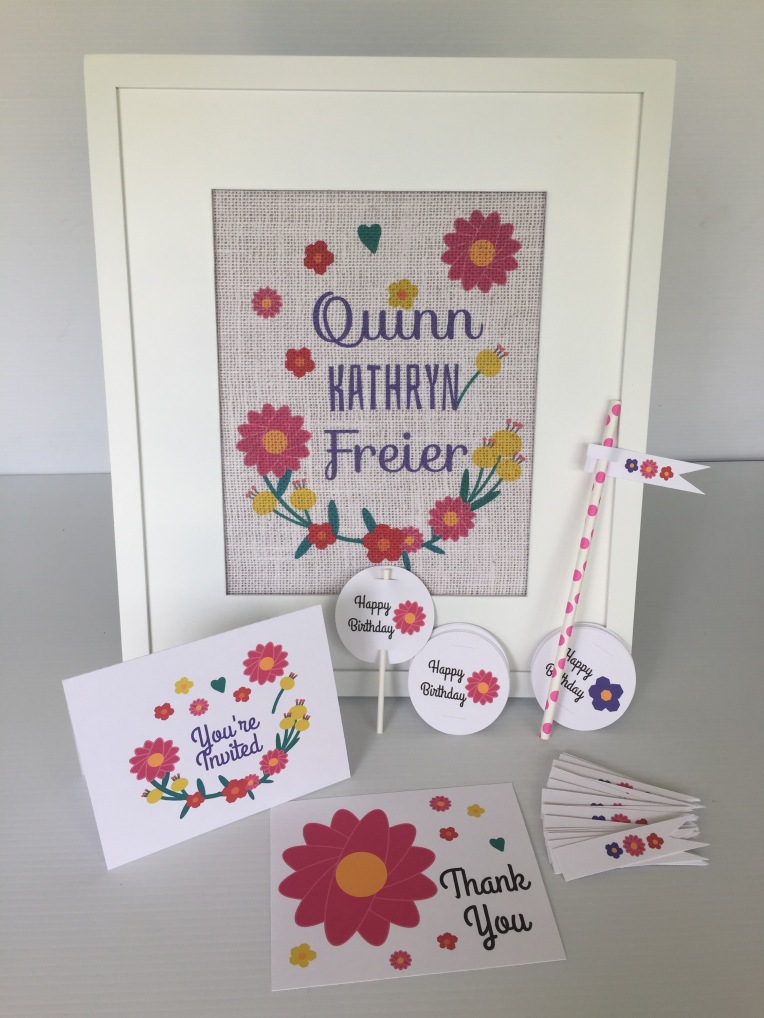
Hey, everyone! I am happy to introduce something that has been bouncing around in my head for a while. I have now introduced Party Kits to the Cate Crafts Etsy Shop. YAY! They will come with basically the same things, though some variations may occur from listing to listing. Each of the two existing kits I have made come with thank you cards and invitations with envelopes, straw flags, cupcake toppers, and a coordinating burlap print for display. So far I have:

Floral Theme Birthday Party Kit


Lego Theme Birthday Party Kit


Two more themes are in the works and I will share with you shortly!

Love, Sarah

Graduation Cards & More!

Hey, everyone! This week in the Cate Crafts Etsy shop there are quite a few new items. I have added several pairs of graduation cards and thank you notes. I also have created graduation and birthday CONFETTI cards (Yes, you heard right, with real confetti!!!) and a few other goodies. Here are some pictures. I would love it if you took a look- you might find something you just gotta have! 😉

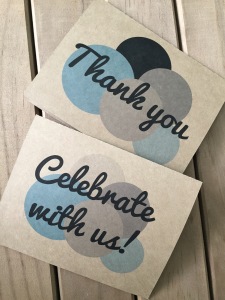
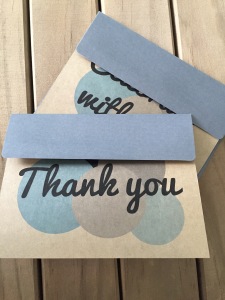
Abstract Circle Invites and Thank You Cards

FullSizeRender (34) FullSizeRender (33)

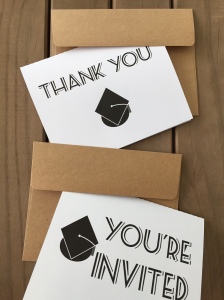
Formal Graduation Invitations and Thank You Notes

IMG_1531

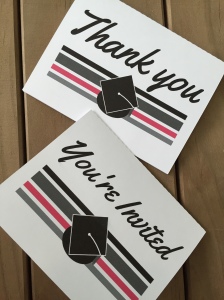
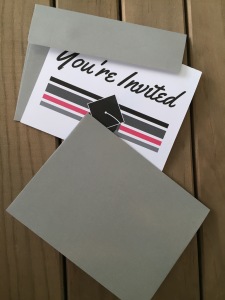
Striped Graduation Invitation and Thank You Notes

IMG_1513 FullSizeRender (35)

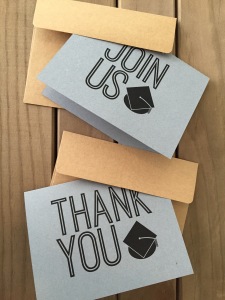
Bold Kraft Graduation Invitations and Thank You Notes

FullSizeRender (31)

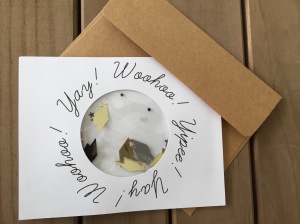
Graduation Confetti Card

FullSizeRender (32)

Happy Birthday Confetti Card


Best Grandpa Ever Card

 
Best Dad Ever Card


To see more photos and pricing visit Cate Crafts on Etsy! Thanks for taking a look and have a spectacular night!

Love, Sarah

DIY Chalkboard-ish Card

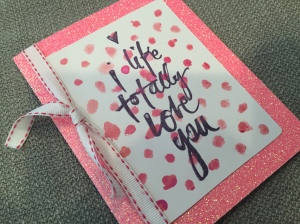
Hey, everyone! Last week I shared a quick and easy watercolor/stamping card tutorial.

IMG_0671

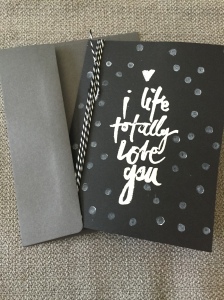
Today I am going to use the same stamp and basic design but we are going to do it on black cardstock and give it a chalkboard-ish feel.

IMG_0677

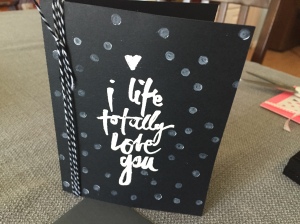
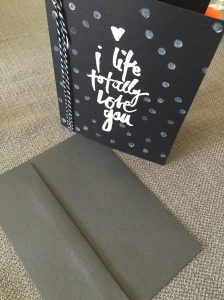
I used a black Cardstock blank card to start. (Silhouette users, here is a previous post with a2 card bases cutting files). I took my clear Heidi Swapp stamp and stamped it onto a Versa Mark ink pad, then stamped on the paper. Versa Mark is a sticky, clear ink pad for embossing. It is kind of pricey and I tried to get away with a cheaper embossing ink pad but it just did not come close to Versa Mark’s awesomeness. Next I poured on white embossing powder, shook off the excess and heated it with my embossing heat gun. (Here is a previous tutorial in heat embossing if you need a refresher.) Next I used the polka dot stencil and filled in the polka dots with white permanent chalkboard marker around the stamped words. (You could use metallic markers if you wanna glam it up). I tied some cute black and white twine two times around the card and was done! Quick, easy, cute! There are so many different ways you can use the same products to make something with a totally different feel.

IMG_0676 IMG_0675

Crafters, what are some ways you create new things from the same old stuff to keep things fresh?

Love, Sarah
Cate Crafts